March Garden To-Do List
- Jenna Taylor
- Mar 9
- 4 min read
Spring is getting closer! In Knoxville we've had a bit of a freeze and some snow, but it looks like things are trending a bit warmer. Tulips and daffodils are starting to break through the ground and my ranunculus and snapdragons are tucked in under frost cloth to help protect their leaves through the freezing nights.
I'm gardening in Zone 7a here in Knoxville and my last average frost date is April 20th. If you're not sure what that means, check out my previous post where I discuss gardening zones.

March Gardening To-Do List:
Start seeds!
March is the month where the bulk of my seed starting happens. We're in that 4-6 week window of time before our last average frost date and that's when a lot of seed packets recommend starting seeds indoors for transplanting after chances of frost have passed.
Now listen, these are just **RECOMMENDATIONS**. They are GUIDELINES
Sidequest-- (ok, Millennial here-- does anyone else hear Pirates of the Caribbean when they hear the word "guidelines"? After Elizabeth says "Parlay" is taken to the ship and Barbosa says "They're more like guidelines anyways." Just me?)
Back to seeds-- The number of weeks to start seeds are a range because they are guidelines. Not hard and fast rules. If you're planning on planting successions, you'll be planting outside of these windows anyways. If you've passed the recommended number of weeks and they are not cold loving plants, you didn't miss out. You can still start the seeds. It's ok!
Seed starting supplies
There are very few things you need and the rest are extras. I've started seeds in Tupperware containers covered with Syran wrap as a make-shift humidity dome on my window sill before buying grow lights and they still grew into healthy plants.
Soil (I use potting soil, some people use ProMix or concoct their own mixture)
Containers to put the soil in (whether that's old pots, seed trays, 72 cell seed starting tray or soil blocker)
Drip tray to catch the water (I use a boot tray, some people use plastic lunch trays or one that's specific for the seed trays).
A light source.
Extra supplies include:
grow lights (+/- a timer)
humidity dome
heated grow mat
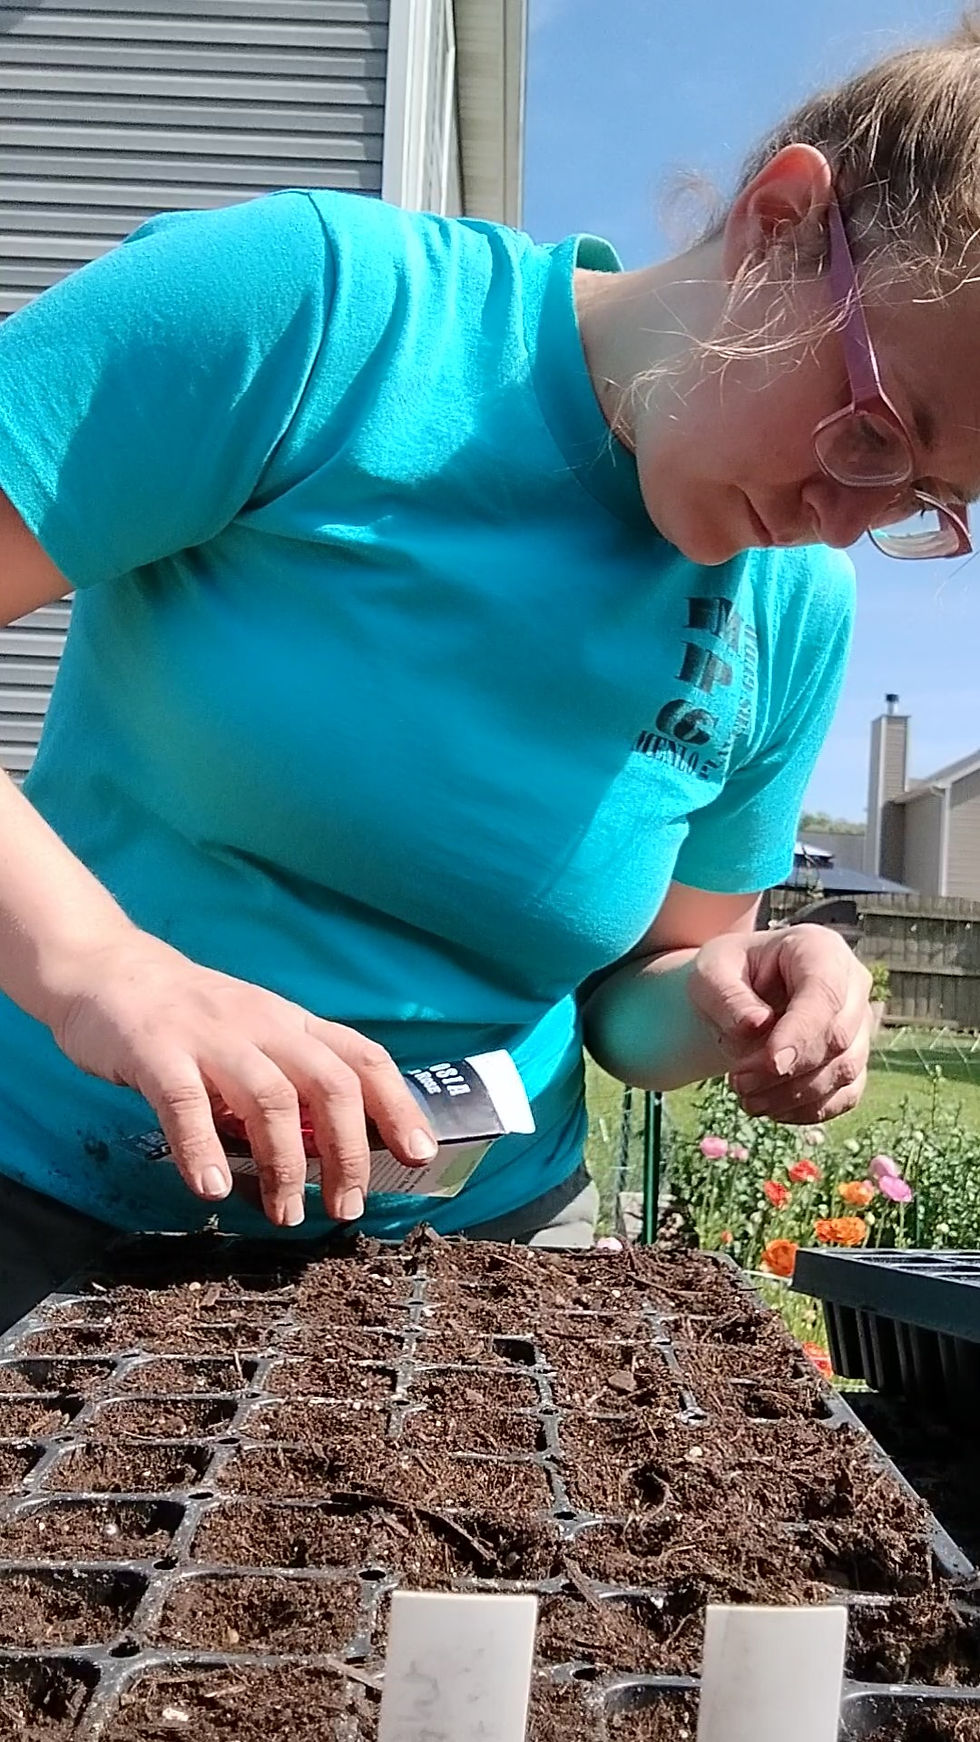
Start your seeds
Looking at the back of your seed packets, it will tell you how deep to plant the seeds. Some of them require light to germinate and some of them do best when they're covered with soil. The goal is to have one seed per cell, but honestly I usually do two per block and separate them at transplanting time. I start more than I need because I know there won't be 100% germination and I like to account for loss. Not all seedlings will survive and that's just part of gardening. If I plan for 20 plants, I start 30-40.
Prep your garden beds
If you haven't already done so, you can start preparing your garden beds for transplanting. This looks different for everyone. Some people believe in no-till gardening, some people till the soil first. Either way, your gardening space requires you to feed the soil.

Consider soil testing
I'll be honest. I've never had my soil professionally tested. You can use at-home kits, but every Master Gardener will recommend getting your soil tested by your local extension office. You can submit soil samples and they will send the results and what needs to be amended. pH and NPK (Nitrogen, Phosphorus, Potassium) play a big role in your soil's health.
Feeding the soil
Organic vs. non-organic is based on your personal preferences. Organic doesn't always mean safe if used incorrectly. Afterall, water is organic and if used incorrectly (i.e. you breathe it in), it can kill you. Synthetic can be incredibly helpful if used as directed.
That being said, when I prep my garden beds, I add bagged Espoma Land and Sea compost and Plant-tone or Garden-tone before planting.
Starting from scratch?
I make a mixture of 60/20/20
60% topsoil
20% composted manure
20% peat moss
Replace watering system if needed
Before I have a garden full of plants, now is the time I like to look at my hoses and drip lines. Check them to see which ones need replaced and which ones don't. Make sure there are no leaks and if you don't have a watering system in place, now is a good time to lay it out and set it up if you're considering it! I use 1/4" drip hose with emitters every 6" and 1/2" hose to connect it to the faucet.
Prune panicle hydrangeas
There may be other shrubs and flowering bushes that do best with late winter/early spring pruning, but the ones I have in my garden are panicle hydrangeas which grow on new wood. I have Proven Winner Bobo and Little Lime hydrangeas that I prune every March.
The rule of thumb is:
cut back 1/3 of the bush to provide a strong base.
cut skinny or dead branches
cut branches that crisscross and will rub on one another causing damage to the branch.
make and angled cut above a set of nodes (this is where new branches will grow from).


Transplant cold-hardy annuals and perennials
If you have started cold-hardy annuals and perennials that are ready to be transplanted, March is a good time to do so. These are plants that do their best root development when soil temps are cool, but not frozen. Some of the cold-hardy plants on my list include:
snapdragons
feverfew
rudbeckia
yarrow
bupleurum
sweet william
scabiosa
Wake up dahlia tubers
If you stored dahlia tubers over the winter, now is a good time to wake them up before planting them next month. By waking up the dahlia tubers, you are simply moving them into a warmer place (for me, that's from the garage to the house). This will allow the tubers to form an eye and give them a little head start for planting (and sort out the duds). The eye is where your dahlia plant will grow. Some dahlias take longer than others to wake up, but if after 6 weeks there's no eye, chances are it's not going to grow.
I've included a March gardening check list for you to download and write down your check list and seeds to start. What's on your list?
Got questions? Comment below and let's chat!

Comments